

I wanted to display some of my dishes, since they are the inspiration for the color scheme and decorating (which is still in the process). I decided using the coffee cups would be the easiest way to do that, here's what I did...
What you need:
Board (s)
Spray Paint
Drill
Cup or Mug Hooks
Paint
What I did:
I had some random boards that came with our new washer and dryer. They were in the box when
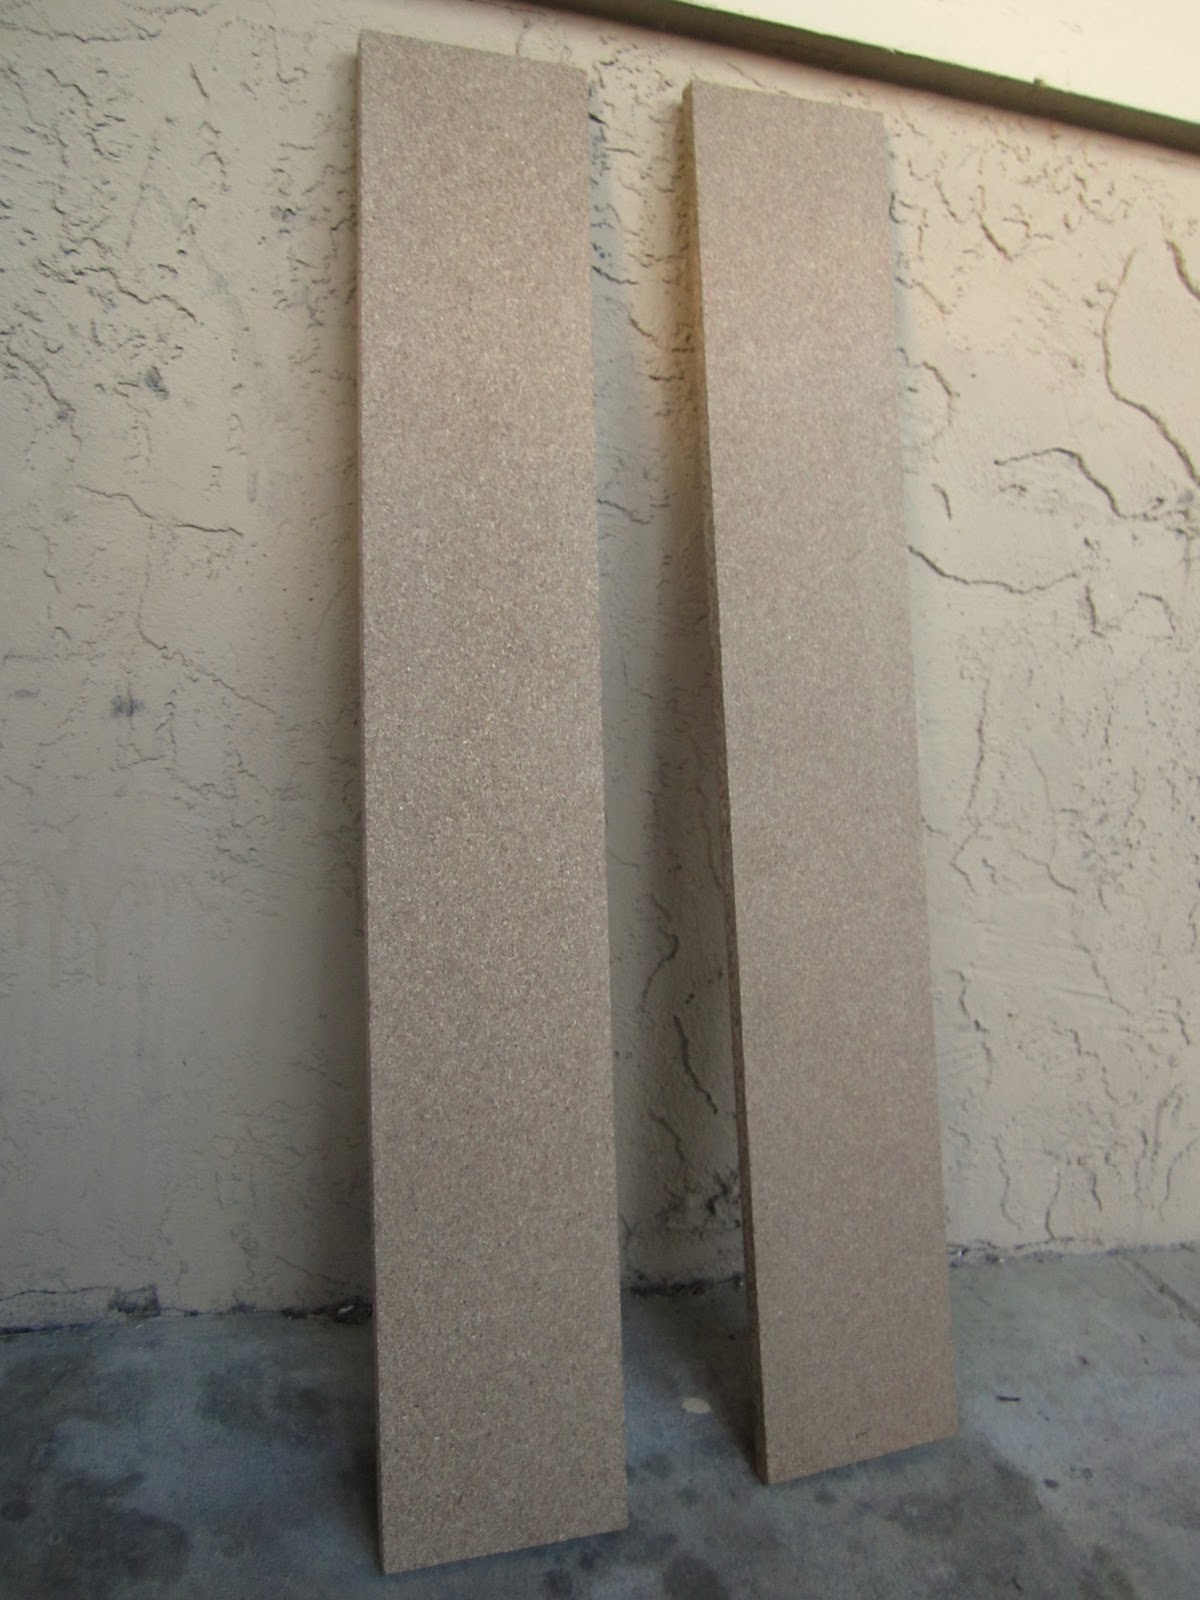
You need to decide how many boards you want, and how long. I think one long board would look nice for a simple, clean design. Or, three or four shorter boards, evenly separated would work well in a small nook that needs to be used. I chose to use two boards and stagger them. I did not really have to decide on length...they were all the same!

Next I pre-drilled the holes for my cup hooks. I placed my holes four inches apart and alternated their distance from the top of the board. I was able to get seven holes per board. I did this so I wouldn't mess up the paint job when I finally put the cup hooks in at the end. (looking back, I would only put four holes per board, eight inches apart)

I spray painted my boards Khaki with Krylon spray paint as a base color. I then used about four colors of paint that I had to give the boards a worn, vintage, loved for a long time look...I used light yellow, sand, dark tan, another color tan and this stuff...my favorite stuff

I got this stuff a long time ago and I use is when I paint A LOT! I don't remember where I got it, and I haven't seen it in a while..but I'm on the hunt!

Oh, any my husband got a hold of the camera...yes, I was painting in my living room floor! I dry brushed the paints onto the boards, which means using a very little bit of paint on the brush and continuing to brush over the painted area after there is no more paint in he brush (when it's dry!). This spreads the color out all over the board and thins it out, blending all the colors much better.

I kind of LOVE how they turned out!

Next I drew the design I wanted on the boards in pencil. I messed up a few times, erased it and moved on. I had about a million ideas and it took a while to decide what I wanted to do. Finally I decided on a simply leaf design and I love how it turned out.

I picked the colors I wanted to paint the design in and went to town on 'em! I chose Americana brand paint in Georgia Clay and Marigold and PLAID Apple Barrel Colors in Lemon Chiffon as well as my instant age varnish! I squeezed out each color separately and dipped my brush in all three before painting each leaf.

I must say, I was quite impressed with how well the design turned out. I'm telling you, it's SIMPLE, you can SO paint this!

I let the paint dry and got my mug hooks ready.

I screwed those babies into my pre-drilled holes and voile...all that's left is to hang it!

Now, the hanging part was the downfall of me! Since we live in an apartment, we can't do anything major...so I went with thumbtacks...which did NOT work, gave up and my husband came to the rescue! You see, first I drilled some holes in the back of the boards, wound up going to far and went straight through the board. I actually love how it looks now...but at the time...I was so upset! My husband put some nails in the wall, they were just small ones but they work so MUCH better than the thumbtacks!

Here she is...in all her glory!

I hung up the coffee mugs, and was so thrilled that I now had some place to hang the apron I made! (not the best picture, it's an awful area for light) Look at that GORGEOUS tablecloth...thanks hubby for letting me splurge at Target when I saw it!


No comments:
Post a Comment