Showing posts with label sewing. Show all posts

1.17.2011

rrrruffles have rrrrridges

By the way...I love those chips!

I shared with you my newest creation, my apron with my fabric flowers on it yesterday.  I added a ruffle to the bottom of my apron and wanted to share with you just how I did it.

First I took a scrap of fabric twice the length of what I wanted it to be when finished.  I was using it for my apron which was 20 inches long so, I cut a piece of fabric that was 40 inches long.  If you want a SUPER tight ruffle, go with a longer piece.

I then sewed a hem down one side of the fabric.  This will be the bottom of the ruffle.  I was attaching my ruffle to the skirt, so I didn't need to hem both sides.


I then hemmed the two ends of the fabric.


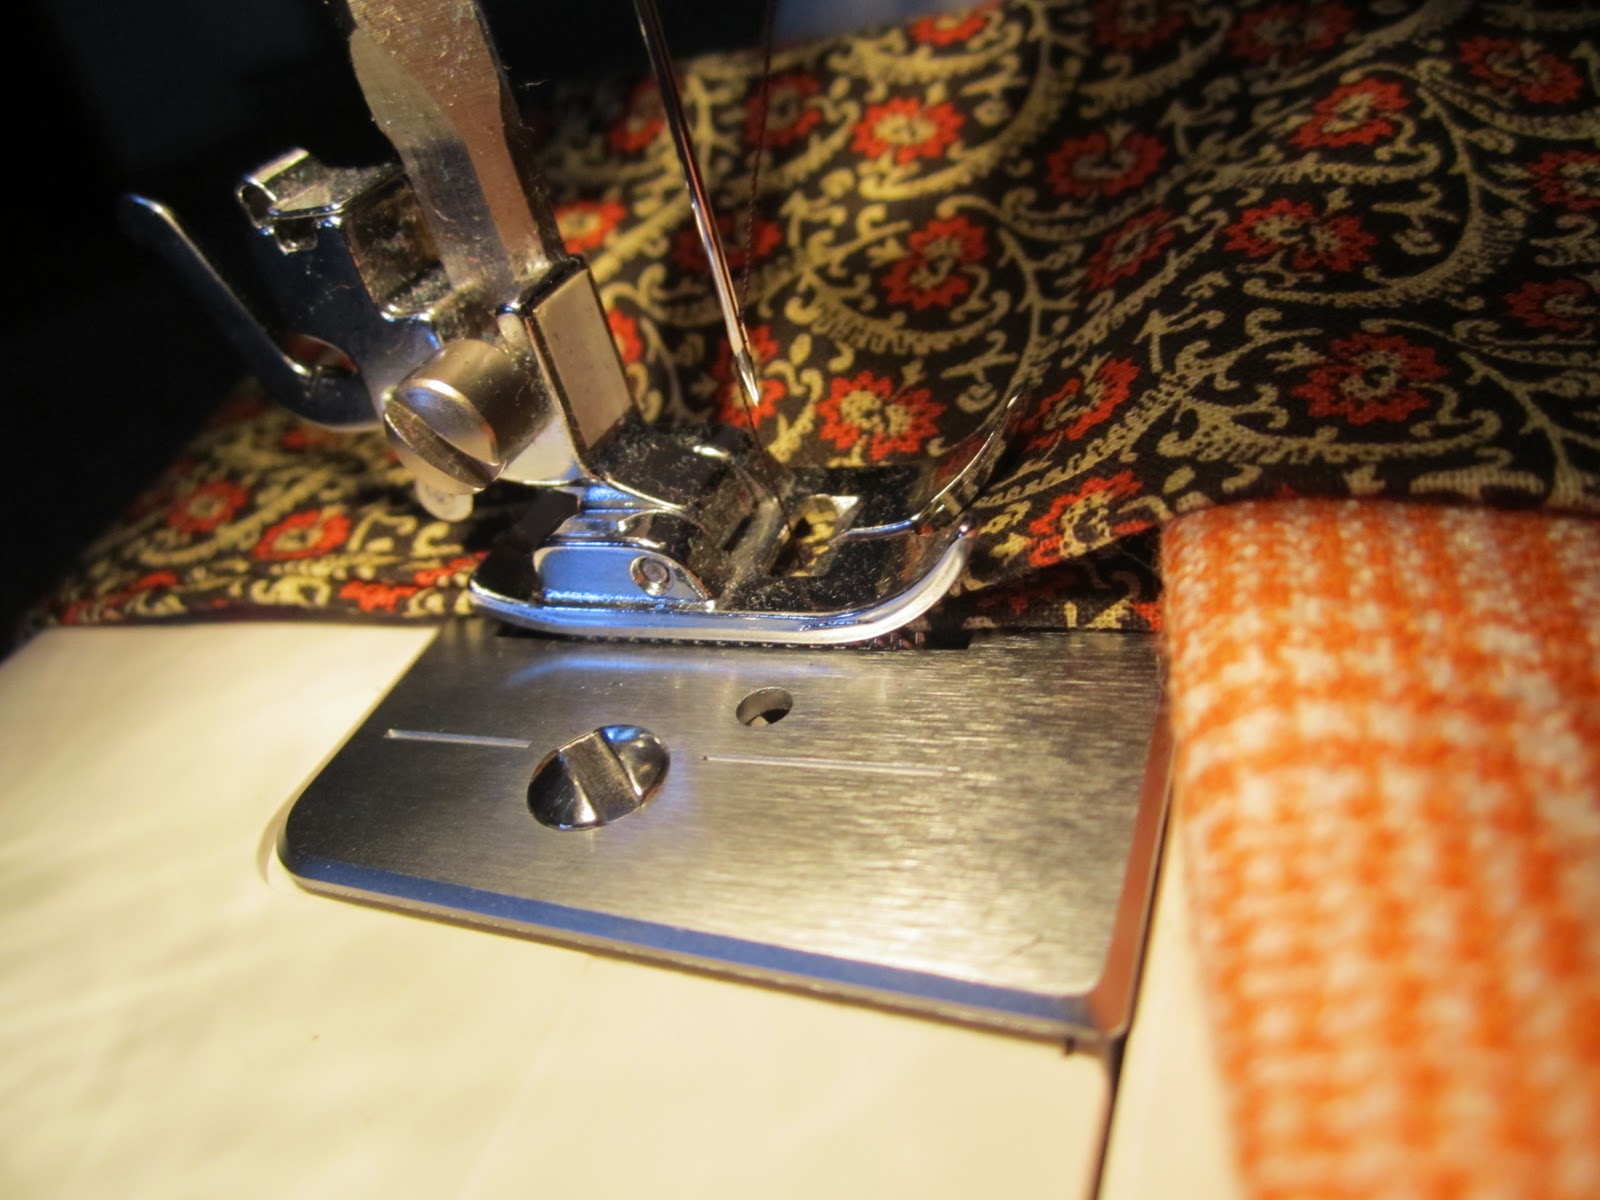
Next, I set my sewing machine on the biggest stitch setting.  Remember, a stitch is just a straight line...I forgot that and wound up having the take the whole thing out and redo it...ugh!


All righty, here is the ruffling part...take one of the threads hanging out of the end of the fabric and pull.  I had to scrunch, pull, tug, bribe...but, I got to it!  I just scrunched it up shorter than I knew I wanted it and then pulled it back out to exactly the right size.


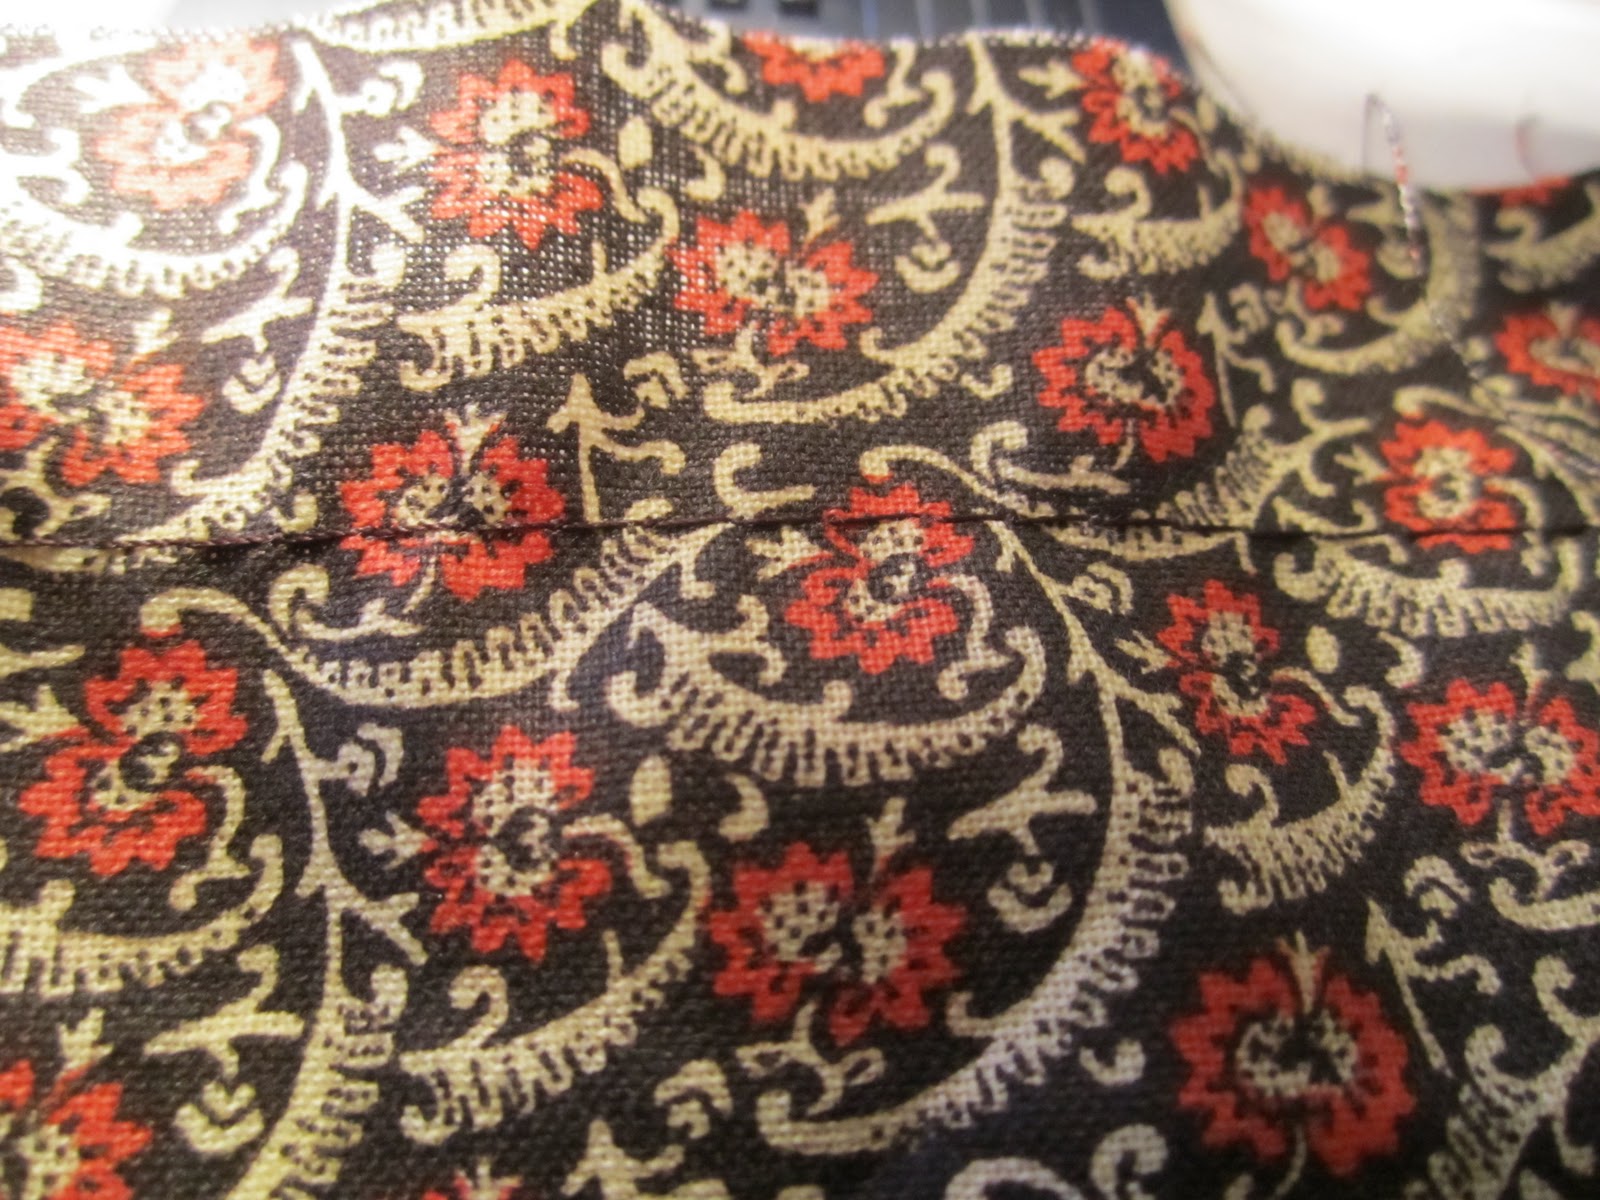
To attach to my apron, I only sewed up three sides of the skirt portion of my apron.  I used the open end as my bottom and tucked the unhemmed side of the ruffle in and pinned it in place.


I then just sewed straight down the bottom of my apron to attach the ruffle and close off the apron.  There it is...the easiest ruffle EVER!


Go HERE to see the finished apron, I am kind of, sort of, probably completely in love with it!

1.16.2011

cookin' up something pretty

This year my mom asked for only two things, a new apron and a bunt cake pan.  She made the comment to me once that she will probably wind up getting three of each (since she told me two sisters and I the same two things she wanted)!  She asked specifically for a Vera Bradley apron and, both of my sisters wound up buying it for her.  I knew this was going to happen so what did I do?  I made her one!  Now, it's no Vera Bradley...but it is made with love for my momma!
I am going to show you how I made the skirt for my moms apron.  As I told you before, I do not do well with patterns so, I always have to make something twice before I can tell you how I did it.  I whipped one up for myself and wanted to share it with you.

(for reference, on my project fabric 1 = orange plaid, fabric 2 = brown floral.  Feel free to do whatever patterns or colors you want)

You will need:
2 rectangles of fabric 1 approximately 20" x 13" (Hold a measuring tape up to you and see if you need it larger or smaller...use what works best for you!)
1 rectangle of fabric 2 approximately 6" x  60" (You will fold the rectangle in half giving you a 3" band, if you want a different size, adjust to your liking)  The fabric I used was only 45", so I cut another 15" and sewed them together
Sewing machine
Coordinating thread
Any embellishments you like (I used my no sew flowers and minimal sewing flowers)  I also added a little ruffle to the bottom, I will show you that tomorrow, this tutorial is for a SUPER simple apron.

Also optional - If you want to customize the apron a little more with pockets or painting with a stencil maybe, do this to one of the rectangles of fabric one before you sew them together.

Lay the two pieces of fabric one down with the pattern facing each other.  Sew around the bottom and two sides, leaving the top open to turn it right side out.  Turn the rectangle right side out


Take the large rectangle of fabric two and iron it in half long ways as well as ironing a hem on each side.  You don't have to iron it but, it makes it a million times easier then trying to make sure you have it pinned perfectly in place the whole time.


Take the right side out  rectangle of fabric one and place it between fabric two.  Be sure to center it so that you have the same amount of fabric on either side of the rectangle of fabric one.  Pin the fabrics together


Sew the rectangle of fabric two closed, going straight down the strip of fabric.  This will close the band and attach your skirt.


And there you have it!!  A sweet and simple apron perfect for everything!  Now, add your embellishments as you wish.  Remember, I will show you how to add the ruffle tomorrow.  I LOVE my apron with my cute little flowers!


Photobucket” />

blossom - episode 2

Yesterday I shared with you a no sew fabric flower (which I LOVE and probably will be obsessed with and make quite often)!  Today I am going to show you a different type of fabric flower that requires VERY VERY minimal sewing.  Honestly, it requires a needle and thread...come on, you can handle that.

These flowers can be made as big or as small as you want.  You can glue a pin to the back or a hair clip, or even attach it to a headband for a super cute look.  Use them as embellishments on different projects.  Just add them everywhere!

You will start off with the same materials you did for the no sew flower (cut your fabric into circles) and just add to that list a needle and thread.  Cut one smaller circle of a thick fabric for the base.


Start off by taking your fabric (the fabric I chose was printed on one side and I wanted the printed side to show most, so I started off with the printed side down)  Fold the circle in half, then half again.


Now, position the point of the petal in the center of the base.  Stitch from the bottom of the base through the point of the petal.  Stitch back down through the point of the petal and the base.


Continue doing this with the remaining petals.  I did three different fabrics and decided to layer each one separately.  You can mix the patterns up, keep it all simple...do what ever you want!


Once you have all your petals on, cut a small circle out of a coordinating fabric and stitch it onto place in the center of your layered petals.

1.15.2011

blossom

All over blogland I have seen different women making adorable crafts with super cute little fabric flowers all over them.  I love love love the fabric flowers.  As you know, from my flower hair clip tutorial...I'm kind of addicted to big flowers.  Lord knows, when I have a child (quite a ways down the road) my little girls will have huge flowers attached to their heads almost constantly!
I love that these flowers can be attached to anything.  You can attach a pin or a clip to the back of these flowers and use them in a million and a half different ways.  Or, just simply stitch them right on to a project to add some pizazz!
Well, I found a super simply tutorial over at Little Miss Momma on how to make these no sew flowers.  I followed it and am SO pleased with the outcome.  I used three different kinds of fabric on my flower, you can use more or less...anything you want!

 First, cut out circles from your desired fabric(s).  These circle do not have to be exact in any way shape of form.  How many circle you will need depends on how full you want your flower to be.  Be sure to cut a smaller circle out of a thick fabric to act as your base.


Next, take one circle and scrunch it up by grabbing the center.


Dap hot glue on the scrunched tip of the petal and glue it to the middle of the base you cut out earlier


Continue doing this and filling it the base with the other circle you have cut out. 


1.14.2011

with the band

For Christmas my little sister asked for an arm band for her Ipod touch.  My husband and I both have an Ipod touch as well and he has an arm band for when he works out.  One night I decided I would use it at work...yeah, that didn't happen.  It was too big for my arm.  I admit, I have small arms (trust me, this grass is no greener than yours) so the arm band literally slid down to my wrist.  I was frustrated.  When my little sister asked for one, I knew there was NO WAY a normal one would fir her, she has smaller arms than I do.  So, I said my famous phrase "I can make that" and did!
I am so sorry I haven't posted this earlier, you see when I made something I make it with no pattern.  So, the first one is usually the trial, seeing what works best.  The second one I make is the one that I really know what I'm doing and can explain.  I had no reason to make a second arm band...until now!  My little sisters friend asked for one, so I said 'of course, I need to share this with my bloggies'!

Fabric 1: Zebra
Fabric 2: Green

What you need:
Cut out of Fabric 1:
(2) 5 1/4 x 6 1/2 inch - we'll call these smaller panels
(2) 5 1/4 x 7 1/2 inch - we'll call these larger panels
Cut out of Fabric 2:
(4) 6 x 2 inch - we'll call these arm bands
Other stuff you need
2 inch velcro strip
4 inch velcro strip
Sewing machine
Coordinating thread

What to do:
First sew the two smaller panels together as you would a pillow (pattern facing pattern, inside out) leaving one side unsewn, this will be the bottom.  Turn the finished panel right side out


Next, sew one side of the 2 inch strip of velcro onto the middle of the top of one of the larger panels.  Sew the two larger panels together as you did the smaller panels, leaving the bottom unsewn.  Turn the finished panel right side out


Sew the second side of the 2 inch strip of velcro onto the middle of the top of the finished smaller panel.
Set your two finished panels aside.

Sew one strip of the 4 inch velcro to one end of one of the arm bands.  Sew one of the unused arm bands to the newly velcro-ed arm band as you would a pillow, leaving the bottom unsewn.  Turn the newly finished arm band right side out.  Do the same for the second strip of 4 inch velcro.  Continue to make the second finished arm band.

Clasp the two arm bands together using the velcro.  Lay the larger finished panel down with the velcro facing up.
Lay the smaller finished panel on top of the larger finished panel also with the velcro facing up.

Place the clasped arm bands between the two panels, centering on one side (one side of the clasped arm bands will be sticking out a lot, but we will take care of that).

Stitch down the side you centered the bands on and then across the bottom of the panels.

Now, tuck the end of the arm bands that is sticking out a lot into the pouch you just made.  Be sure to leave a small amount hanging out to attach.

Stitch up this side as well.

Turn your case right side out.


giveaways

1.05.2011

cleverly disguised

You may remember the pillows I made for our couch and love seat out of place mats and napkins.  Well, I love them and we still use them however, they have fall leaves on them.  It's just a tad bit past the season for fall leaves!  I wanted to change the pillows somehow but didn't want to buy all new ones and more stuffing.
I was reading my friend Mary's blog one day and she had a tutorial for  making pillow slipcovers, the kind that overlap in the back like pillow shams.  How perfect!
I had bought some fabric at Wal-Mart not too long ago, and I decided to use it.

What you need:
Sewing machine
Fabric
Tape Measure

How to make it:
Determine the size you need to cut the fabric down to.  To calculate this measure the pillow from seam to seam (you are measuring half of the pillow) Mine was 13 inches by 18 inches.  Next, multiply the width by two, (13 x 2 = 26) add about an inch and a half to allow for seams (26 + 1.5 = 27.5) then add four inches, this will be the overlap (27.5 + 4 = 31.5).  For the length add about an inch for seams, which came out to 19 inches for me.  All righty, now that the math is over my fabric was 19 inches by 31.5 inches.
Next, you want to hem the edges that will be seen because of the flaps.  That will be the shorter of the two sides.

Lay the piece of fabric with the hem facing up (as pictured) and fold one side in and then the other on top of it.  I knew that I needed it to be 13 inches on each side.  I measured and adjusted the folds to get the right size.


I then pinned the folds down and stitched straight down the two sides.


Now, turn the pillow slipcover right side out and voile!


Stuff your pillow in your slipcover and you are done!


A simple and quick little face lift for your pillows.  I want to stencil something on the pillows but I am not sure what just yet.  I will be sure to keep you updated on what I decide to do.
Oh, and thanks Mary for the tutorial!

12.26.2010

store in style

I found some crazy cute fabric at Wal-Mart and just HAD to make something with it.  I decided to make some makeup bags for my younger sister and my teenage cousin.  Let me preface this project by saying this is absolutely one of the easiest things I have ever made.  Anyone with a sewing machine and some fabric can whip up this baby in less than half an hour.  I don't follow patterns, I'm just not good at it.  Though, I will try my hardest to use measurements and standardize everything as much as possible so that it is easy to follow.

Just for reference:
Fabric 1 - Owl fabric
Fabric 2 - Teal fabric

You will need:
10x9 piece of each fabric
10x6 piece of each fabric
5x4 piece of fabric 2
2 inch strip of velcro (meaning both part of the velcro being 2 inches)

First, fold the 5x4 piece of fabric in half and sew down the two sides, leaving the bottom open.  Turn the piece right side out, this will become your little flap.


Take the larger square of fabric two and sew the unused strip of velcro on to the middle of the top of the square.  Lay this finished square down, with the velcro facing up, lay the tab you already made on the velcro.  The unfinished side of the tab should be hanging off of the fabric square.  (Remember, you are turning this inside out so the unfinished part will be between the two layers of fabric)  La the large square of fabric one on top of this face down.  Pin the three pieces together, so that they do not shift while you are sewing.  Sew the top and two sides together.  (The top is the side with the velcro and tab).  Turn the square inside out.


Next, take the smaller of the two sets of squares and lay fabric on down face up.  Place fabric two on top, face down.  Sew the top and two sides together, leaving the bottom open so that you can turn it inside out.  Turn the square right side out and sew one side of the velcro on the middle of the top of the square.


You now have the front and back of your bag. Place the two one on top of the other with fabric one facing each other.  Sew down the two sides, only going as high as the smaller square, and across the bottom.


Now, your bag is basically finished, you just need to turn it right side out.  However, I am going to show you a trick!  Sewing the corners in a special way will help the bag to stand up a little better and give it the appearance of being deeper in a way.  To do so, grab the corners, pressing the hem to the bottom of the bag (look at the picture, it will help to make sense) with your thumb and index finger.  Sew this fold together, the further you sew it from the corner, the  wider the bag will sit.


You've done it!  Created a great little bag.  Turn the bag right side out and enjoy your creation.  I put some make-up in the bags and gave them as gifts to the girls.  However, this would make a unique little pencil holder or even a snack bag.  Adjust the measurements of the bag any way you want to create a bag of any size to meet your needs!  Just make sure that one square is larger than the other to accommodate the fold.

11.16.2010

a valance-ing act

My favorite solution for curtains is by far twin sheets, as I shared here.  I used this same technique in our bedroom using black twin size sheets.  I wanted to give the appearance of a bigger window than we actually have so I used a few tricks...hee hee hee.  First, I wanted to bring some color and life to the room so I decided to use a bright, bold fabric to make a valance (little top, half curtain thingie). 
The process of making the valance was extremely similar to making the curtains.  I first cut the piece of fabric in half so that I could sew it together to make it long enough.  I placed the two pieces of fabric facing one another and sewed one side (much like I did with making pillows.)  I then opened up the fabric and had one long piece of fabric that needed hemming.  I ironed down the flap created by sewing together the two pieces of fabric.
At this time my beloved sewing machine decided to throw a ridiculous temper tantrum and would not work for me.  I had to result to the alternative...my glue gun!  I simply glued where I would have sewn.  I glued the hem on the bottom, the side hems and even the pocket for the rod.  (For more detailed instructions, check out how to make curtains here).  I wanted a little more interest on the valance, so I added some gray ribbon along the bottom edge, this was secured with hot glue as well.  There it was, my finished valance with no thread showing!
We bought a double rod so that we could hang both the valance and the curtains.  I hung the curtains quite a few inches above the actual top of the window, this gives the effect that the windows are taller than they actually are and make the ceiling seem higher as well.  I pulled the curtain rod out as long as it would go and mounted it a few inches from either side of the window.  This gives the effect that the window is wider than it actually is.
Like I said before, no one likes naked windows.  Why not add some pizazz to your newly dressed up windows?  Get inspired, create something snazzy!

10.29.2010

no one likes naked windows

No, but honestly...no one likes a naked window.  They look so cold, uninviting and bachelor-esque!  Ewwwww!  When my husband and I moved into our apartment I fell in love with the over abundance of windows in our living room space.  I however, did not fall in love with the idea of buying window coverings for all of them.  So once again, my craftability took the reins and the wheels were in motion.
I decided to use standard flat bed sheets.  My husband had some sheets that he bought to use for make shift curtains in his bachelor days.  I can't remember the exact price of the sheets, but I am for certain they were no more than $5 at the very most.  My husband had used standard tension rods to hold up his curtains so we used those.  We also bought some cafe rods (the simple little ones that have a hook on either end of the window and the rod sits in it) because we have some bigger windows.
Once again, I broke out my sewing machine and got to work.  I laid out the sheets and folded them in half longways.  I then cut them in half with ordinary kitchen scissors to make panels.  The best part of using sheets: they are hemmed already, you only have to hem the side you cut!  I then sewed a small hem on the unfinished side.  I used the top part of the sheet, with the folded down looking part as a guide for making the pocket for the rod to slip into.  I folded down the top to the 'folded over edge' and sewed a straight line making the pocket.  My husband so graciously fought with the curtain rods so that I didn't have to.  What a guy!  To make the tension rods look like cafe rods we bought the brackets separately (all of my supplies are from Wal Mart).
It was now time to christen my windows with their economically friendly coverings.   I put the rod through the pocket and hung the rod on the brackets.  For the ones using tension rods I made sure the ends of the rod were covered by the curtain and put it onto the bracket, it was a tight squeeze but it will also ensure the end stays in place.
The window pictured is a small window, much to small for two panels.  All of my other windows have two panels.  The panels are a little long for our windows and puddle (pile up at the bottom) quite a bit.  However, we have furniture in front of most all walls, so no worries for us.  Though, with children you might want to cut and hem it so no one trips! (Trust me, this happens...I have the same treatment in our bedroom and my husband has!)  You might also think about hanging the rods higher and adding a valance to cover the empty wall space.  Doing so will add height to your room!
Don't stop with this simple design, add a button border to the top or some ribbons as tie backs.  Get inspired, create something marvelous!
Related Posts Plugin for WordPress, Blogger...