11.15.2010

some pretty for your hair

www.piccadillypics.com
Anyone who has even just laid eyes on me in the past few months could probably have guessed my new favorite hair accessory.  I love flower clips.  I  made one for my wedding and loved it so much.  I have made several more since and wear then every chance I get.  I even made some for all us bridesmaids to wear in my older sisters wedding.  My favorite thing about these little blossoms may be how incredibly simple and inexpensive they are!First you need the actual clips.  These can be found at any craft store such as Michael's, Joann's and A.C. Moore.  I actually found some at Wal-Mart as well.  They usually come in packs of about ten or so.  They come in different sizes, I have ridiculously thick hair so I get the bigger ones.  Though, for younger children and those with thinner hair I get the smaller ones.  There are also different types.  There are the actual barrettes and there are clips.  The barrettes snap closed where as the clips slide into place.  Depending on how you are going to wear your flower will determine which one you buy.  Once again, since I have enough hair for about three and a half heads of hair, I get the barrette kind because they hold more hair.
You will also need a normal glue gun with some glue sticks.  If you don't already own one, I bought mine at Wal-Mart for about $5 and I love it, it works great!  Then of course, you will need your flowers.  Most artificial flowers come in stems with more than one bloom though, some do come with a single bloom.  Choose whichever you would like.  You can use the multiple blooms to make clips for your friends or as gifts or spend a little more and get a single blossom with exquisite detail.  Be sure to pay attention to the size of the bloom and be sure it is appropriate for the wearer.  Some may not want to wear a huge peony in their hair while tiny cherry blossoms may get lost in anothers hair.
Once you have all of your supplies, take the blossom off of the stem.  Position it on your clip or barrette to see where it best fits.  Try turning it, adjusting and adding leaves to try and cover the barrette.  You may even have to move the barrette off center from the blossom to cover it all of the way.  Once you have figured out how you like it, put a line of hot glue down the metal clip.  Place the blossom or leaf onto the glue.  Glue anything else in place that you want on the clip.  You may have to glue a petal or leaf down to fully cover the clip.
Get creative with your clips.  Use a few of the same small flowers in different colors to add interest.  Include a small leaf peaking out from under your flower.  Maybe you want mostly greenery and only a small blossom on your clip.  Add feathers of rhinestones to your flower to really bring some excitement!  Instead of using hair barrettes use brooch pins (used on the back of pins, have a flat surface to attach something to) and add some interest to an old bag or bring life to a boring sweater or dress.  Just get inspired and create something pretty (oh, so pretty).

11.14.2010

a classic in it's sunday clothes

When the Holidays roll around, my inner Betty Crocker takes over and I want to bake EVERYTHING and for everyone.  In fact last year I even made treats for our baristas (those who serve us at Starbucks).  As I mentioned before, I also like to find some way to add a little twist to classic recipes, just to put my own little touch on it!
One of the treats our baristas enjoyed were peanut butter cookies.  I used the regular frozen cookie dough...that little dough boy sure is a big help!  Hint Hint: you can find coupons for the cookie dough here.
I cooked them as the directions instructed, I even did the fork markings in the top if the cookies.  Tip: chill the dough before marking, the fork will not stick as bad.  After baking the cookies I allowed them to cool.  I melted some almond bark (great for garnishes).  I then dipped one side of the cookie into the chocolate.  I mean, this is not a mind blowing, earth shattering recipe here though, they sure did look good.  Get creative with your cookies, drizzle chocolate over them, dunk in chocolate and white chocolate, get inspired...create something unique and yummy!

11.13.2010

all hot and chocolaty

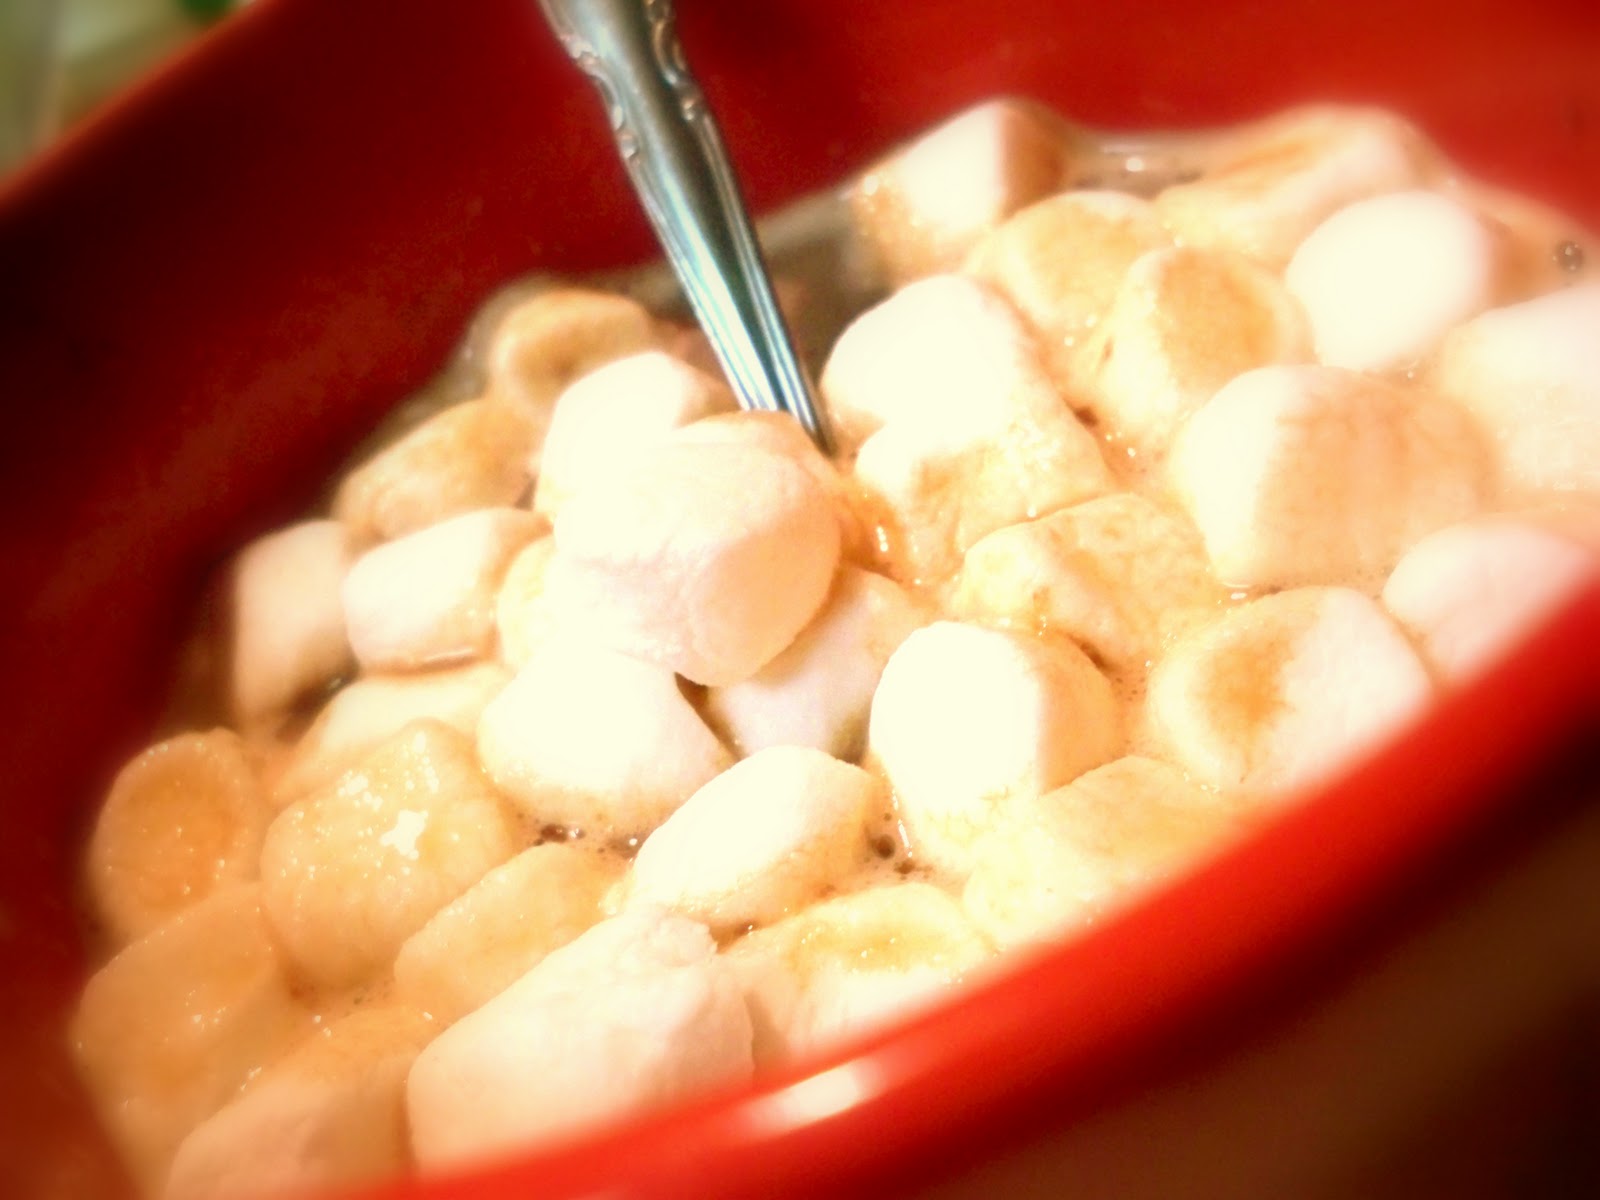
Unlike my caffeine crazed  husband, I do not drink coffee.  My order at Starbucks is hot chocolate, no whip!  Oddly enough, I'm NOT a chocolate fan but. I do like my hot chocolate.  However, when I make it at home it just does not taste even remotely as good as it does at Starbucks...BOOOO!!  I decided I was going to find some way to make a delicious hot chocolate at home.
I began my experiment, by putting milk and chocolate syrup in a pot on the stove.  I decided I would add a tiny bit of vanilla extract to the mix and I also decided to add some cinnamon (my favorite!!).  I let the mixture come to a boil the poured it into my cup and added a packet of hot chocolate mix.  I was shocked at how good it tasted!  Then I started looking online for a recipe...I know, a little backwards...but, it's how the story goes!  I found this one and was sort of proud of myself for coming so close to the recipe!  Best part: this one is made in the microwave!  Give it a try, drink it in a Starbucks mug!

11.12.2010

it's a window...PSYCH

Our bathroom is not the biggest bathroom I have ever met.  Being in an apartment, it is connected to our neighbors bathroom, which means no windows and no natural light.  The walls are so white and so boring, it kills me!  We got a bold shower curtain to try and liven it up some.  Though, the curtain is white with a graphic tree on it in brown...once again, more white!  We used orange, yellow and brown towels to bring some color too.  However, I just wasn't satisfied with the result.  I happened to have a canvas that I had painted a few years ago.  The colors did not match our scheme and I really didn't even like the painting.  So, I went out and got some spray paint (I love using this stuff..see), I got white primer and oil rubbed bronze.  Now, you may not have an old painting lying around but I am sure your local thrift store might!  Canvases are expensive, even with my beloved half off coupons!
I first sprayed the edges with the bronze.  I knew that I wanted to make a faux window so I sprayed a 't' down the middle.  I did not worry too much about how perfect it was, I was going to be covering the imperfections later.  I let that coat dry then broke out my blue painters tape.  I taped off my window.  Remember, you are covering with tape what you want to show when you are done.  What is covered is what will be left the same.  Once my tape was on, I sprayed the left over with the white primer and let it dry.  I then painted the four squares with a light color paint.
You could not take off the paint and have a window pane.  I wanted a little something extra on mine, though.  I left the tape on and painted a branch coming from one side of the window.  I made sure that the branch extended into all four areas of the window.  I wanted some color in the painting so I chose yellow.  I took the end of a marker and dipped it in yellow paint.  I then started from closest to the branch and made dots.  I used a small paint brush to make the smaller dots.  This is just how I chose to personalize my painting you could maybe try a scene painted (or printed out and attached) first then the panes of the window painted.  Get inspired and create something marvelous!
I was quite satisfied with the outcome of my little window.  It now hangs in our bathroom above a towel bar.

11.11.2010

sweet nothings

I love sweets!  Candy (hello, candy buffet at my wedding and in my house), cake (coffee cake as a light snack...a few times a day) cupcakes!  I also love coming up with new ideas to put a little personal touch on the things I make.  I saw an idea online for making turkey (not the flavor...gross) cupcakes.  Those, I will be trying and then sharing closer to Thanksgiving.  Though, the technique they use was brilliant!  I wanted to share it with you because it could be used for so many different things.

You will need:
Almond Bark (chcolate used for candy making, found in the baking isle)
Sandwich size plastic bags
Microwavable container
Spoon
Wax Paper

First, you need to make an icing bag.  Simply cut a corner of the plastic bag off.  The higher up on the bag you cut the larger the hole will be, meaning more will come out.  The closer to the corner you cut the smaller the hole will be, meaning the amount that comes out will be smaller.  The Almond Bark comes in squares.  Put one square into the microwavable container and microwave for 30 seconds.  Stir the chocolate and if it needs, microwave for a little longer.  You want the chocolate to be completely melted, like icing.  Spoon the melted chocolate into the plastic bag and squeeze it all into the cut corner.

Now, pipe whatever you would like onto the sheet of wax paper.  Helpful Hint: line a cookie sheet with wax paper to make it easier to transport your garnish creations.  Try using white chocolate as well to add some interest.  Once you have your creations piped, place them in the freezer to harden.  They really only need a few minutes in the freezer to harden fully.  Take the candies out of the freezer and peel off of the wax paper.  They will come off very easily.  If you made small, delicate designs be sure to be gentle.  You can store the candies in an air tight container at room temperature.  If you don't like how they turned out, melt them back down and start over!
I was practicing for my thanksgiving cupcakes but you can make practically any shape you want.  I played around a bit with the chocolate and tried some different designs out.  These yummy candies could be served alone or used to garnish cakes, cupcakes, pies, drinks, ice cream, anything!  Let your imagination run wild with this SUPER easy idea.  Practice letters with children by making candies of the letter.  Monogram cupcakes or cookies for a special event or wedding.  Get inspired, create something yummy!

11.10.2010

fall into cheap floral

I love a good sale!  I most love that fall decorations all go on MAJOR sale the day after Halloween.  It's like 'helooooo?!  Are we skipping Thanksgiving?"  So, this thrifty gal gets most all of my fall decorations after Halloween, just in time for all to see at Thanksgiving.
This is my first year in my own house for Thanksgiving and I don't have much space so, I am trying my hardest to get smaller things that will make the most impact.  For instance, I needed throw pillows so I got fall themed place mats to make those (find out how I did it here and here).  It's killing two birds with one stone (except no birds were harmed).  I also used fall colors in the floral arrangements I chose to display (you can see some here).
Well, I stopped by my local A.C. Moore to check out their 'fall decor sale' and was thrilled to find it at 75% off!  SCORE!  I got four stems of decorative ball thingies...look at the pictures, they are hard to describe, for a quarter a piece!  I also got a few stems of some dark purple flowers for a dollar each.  I just added the dark purple flowers to my already pink ones, to fall-ize them a bit more.  I also went to the dollar tree and got a pack of decorative leaves (I actually got more than one...but those crafts will come later!).  The leaves had some very see through ones that I couldn't use for my intended project, I decided to fill the bottom of the vase with these to give it a little more weight.  I then just put my little sticks back in and rearranged a bit to make it more of a focal point.
Oh and side note: when on a little bitty budget, rearranging can be the best redecorating ever!  I put some of the sticks I bought on my side table (check out the makeover here) in the little sea grass mixture.  This did two things, changed up the standard arrangement and repeated the 'theme'.  Which, the little sticks aren't a theme so much but, you get the idea.  By repeating or duplicating something, you make it a collection or a grouping which makes it look so much more planned!
I know this wasn't a mind-blowing idea but I do hope that it at least inspires someone to create (or recreate) something beautiful!

11.09.2010

wee little pizza

*again, not the best picture but a yummy food!

My husband and I have been married for three months yesterday!  We are trying to save up money for the Christmas season (absolutely, hands down the BEST time of year) by eating in more often,  We both work nights and are hungry when we get home.  Though, we just don't want to go through all the effort of cooking a meal and cleaning the dishes at 1:00 in the morning!  My husband remembered a little meal his mom used to make for him and his siblings.  We tried it and to my surprise I liked it, I am quite a picky eater!  I love this recipe, I love how simple it is and I love how clever it is!  This is easily a meal that children could help out with!

What you need:
English Muffins cut in half (one muffin makes 2 mini pizzas)
Spaghetti or pizza sauce
Shredded cheest
Your favorite pizza toppings
Preheated oven to 450
Cookie sheet

Lay the English muffin halves on the cookie sheet.  Spoon sauce onto the muffin.  Sprinkle cheese and other toppings onto muffin.  Bake until cheese is golden! (we never really set a timer but rather watch them)

11.08.2010

unify your ideas

When planning our wedding we were once again outraged at the price of stuff.  Unity ceremony supplies were out of control expensive!  I knew that I could make something just as good for much cheaper (and, I did!).  We weren't doing your typical sand ceremony...no, my husband wanted to do gumballs!  So, we did gumballs!
My two smaller vases, I bought at Wal Mart in the floral isle for a buck each!  I then used double sided tape to attach a brown ribbon around it and covered he seam with an orange flower (that I got at Wal Mart).  I loved these small ones, they are so fun!  For the larger vase I bought a glass decanter, also from Wal Mart for $3 I believe.  I also used double sided tape to attach a ribbon to the neck and used some different flowers to jazz it up!  I loved how these looked when finished.  They are actually what I use to decorate my 'crate' idea shelves!
Related Posts Plugin for WordPress, Blogger...