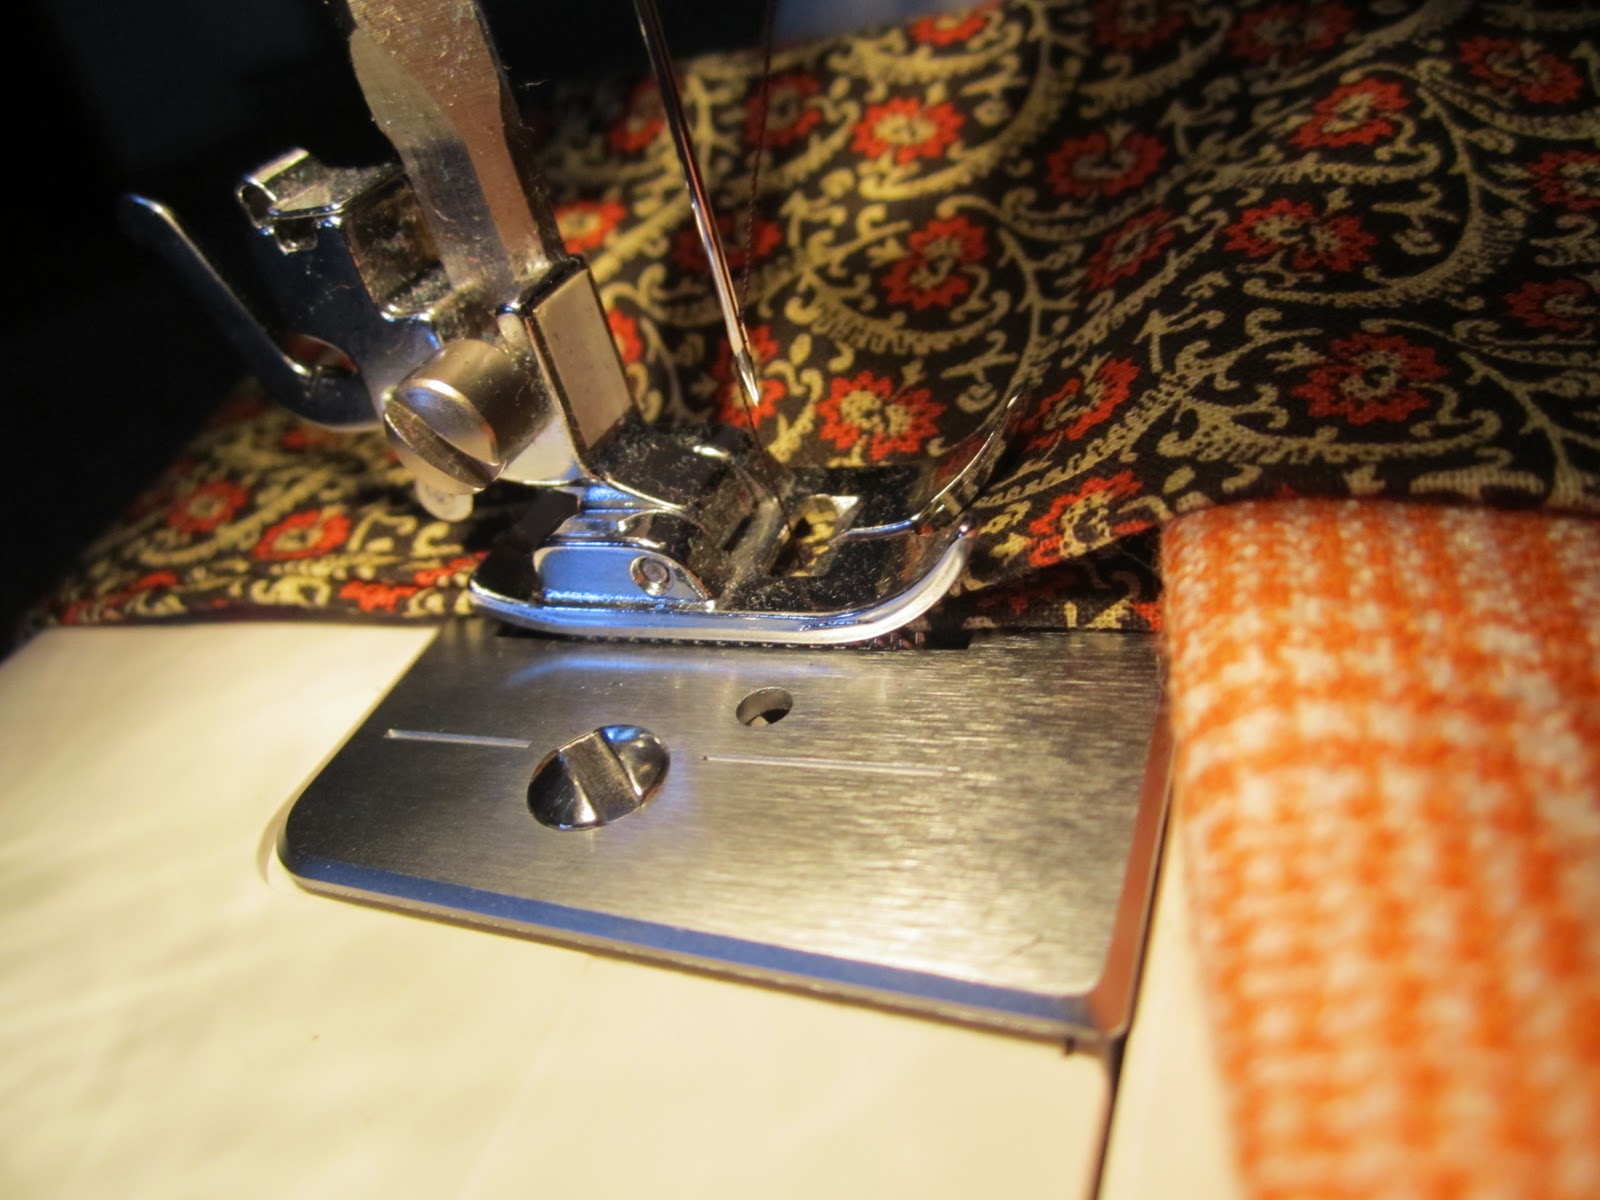
By the way...I love those chips!
I shared with you my newest creation, my apron with my fabric flowers on it yesterday. I added a ruffle to the bottom of my apron and wanted to share with you just how I did it.
First I took a scrap of fabric twice the length of what I wanted it to be when finished. I was using it for my apron which was 20 inches long so, I cut a piece of fabric that was 40 inches long. If you want a SUPER tight ruffle, go with a longer piece.
I then sewed a hem down one side of the fabric. This will be the bottom of the ruffle. I was attaching my ruffle to the skirt, so I didn't need to hem both sides.
I then hemmed the two ends of the fabric.
Next, I set my sewing machine on the biggest stitch setting. Remember, a stitch is just a straight line...I forgot that and wound up having the take the whole thing out and redo it...ugh!
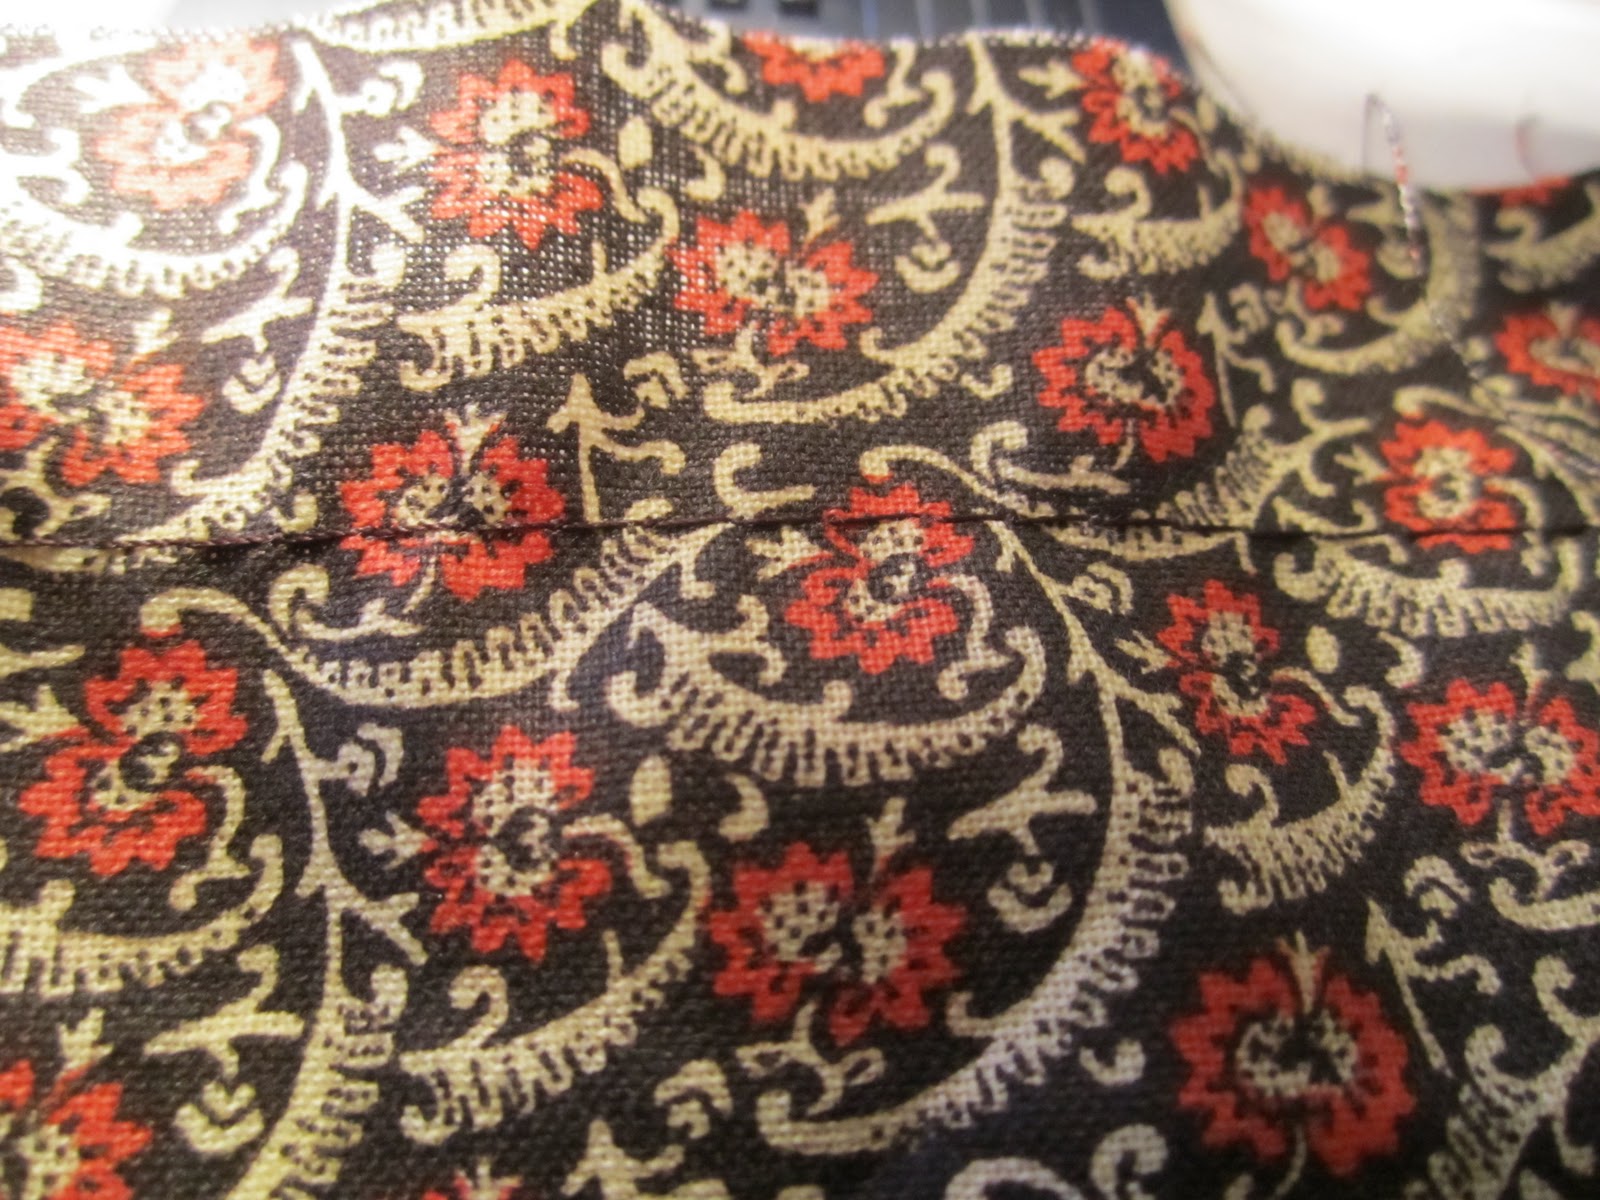
All righty, here is the ruffling part...take one of the threads hanging out of the end of the fabric and pull. I had to scrunch, pull, tug, bribe...but, I got to it! I just scrunched it up shorter than I knew I wanted it and then pulled it back out to exactly the right size.
To attach to my apron, I only sewed up three sides of the skirt portion of my apron. I used the open end as my bottom and tucked the unhemmed side of the ruffle in and pinned it in place.
I then just sewed straight down the bottom of my apron to attach the ruffle and close off the apron. There it is...the easiest ruffle EVER!
Go HERE to see the finished apron, I am kind of, sort of, probably completely in love with it!
Showing posts with label tutorial. Show all posts
1.17.2011
1.16.2011
cookin' up something pretty
This year my mom asked for only two things, a new apron and a bunt cake pan. She made the comment to me once that she will probably wind up getting three of each (since she told me two sisters and I the same two things she wanted)! She asked specifically for a Vera Bradley apron and, both of my sisters wound up buying it for her. I knew this was going to happen so what did I do? I made her one! Now, it's no Vera Bradley...but it is made with love for my momma!
I am going to show you how I made the skirt for my moms apron. As I told you before, I do not do well with patterns so, I always have to make something twice before I can tell you how I did it. I whipped one up for myself and wanted to share it with you.
(for reference, on my project fabric 1 = orange plaid, fabric 2 = brown floral. Feel free to do whatever patterns or colors you want)
You will need:
2 rectangles of fabric 1 approximately 20" x 13" (Hold a measuring tape up to you and see if you need it larger or smaller...use what works best for you!)
1 rectangle of fabric 2 approximately 6" x 60" (You will fold the rectangle in half giving you a 3" band, if you want a different size, adjust to your liking) The fabric I used was only 45", so I cut another 15" and sewed them together
Sewing machine
Coordinating thread
Any embellishments you like (I used my no sew flowers and minimal sewing flowers) I also added a little ruffle to the bottom, I will show you that tomorrow, this tutorial is for a SUPER simple apron.
Also optional - If you want to customize the apron a little more with pockets or painting with a stencil maybe, do this to one of the rectangles of fabric one before you sew them together.
Lay the two pieces of fabric one down with the pattern facing each other. Sew around the bottom and two sides, leaving the top open to turn it right side out. Turn the rectangle right side out
Take the large rectangle of fabric two and iron it in half long ways as well as ironing a hem on each side. You don't have to iron it but, it makes it a million times easier then trying to make sure you have it pinned perfectly in place the whole time.
Take the right side out rectangle of fabric one and place it between fabric two. Be sure to center it so that you have the same amount of fabric on either side of the rectangle of fabric one. Pin the fabrics together
Sew the rectangle of fabric two closed, going straight down the strip of fabric. This will close the band and attach your skirt.
And there you have it!! A sweet and simple apron perfect for everything! Now, add your embellishments as you wish. Remember, I will show you how to add the ruffle tomorrow. I LOVE my apron with my cute little flowers!
![]()
” />
I am going to show you how I made the skirt for my moms apron. As I told you before, I do not do well with patterns so, I always have to make something twice before I can tell you how I did it. I whipped one up for myself and wanted to share it with you.
(for reference, on my project fabric 1 = orange plaid, fabric 2 = brown floral. Feel free to do whatever patterns or colors you want)
You will need:
2 rectangles of fabric 1 approximately 20" x 13" (Hold a measuring tape up to you and see if you need it larger or smaller...use what works best for you!)
1 rectangle of fabric 2 approximately 6" x 60" (You will fold the rectangle in half giving you a 3" band, if you want a different size, adjust to your liking) The fabric I used was only 45", so I cut another 15" and sewed them together
Sewing machine
Coordinating thread
Any embellishments you like (I used my no sew flowers and minimal sewing flowers) I also added a little ruffle to the bottom, I will show you that tomorrow, this tutorial is for a SUPER simple apron.
Also optional - If you want to customize the apron a little more with pockets or painting with a stencil maybe, do this to one of the rectangles of fabric one before you sew them together.
Lay the two pieces of fabric one down with the pattern facing each other. Sew around the bottom and two sides, leaving the top open to turn it right side out. Turn the rectangle right side out
Take the large rectangle of fabric two and iron it in half long ways as well as ironing a hem on each side. You don't have to iron it but, it makes it a million times easier then trying to make sure you have it pinned perfectly in place the whole time.
Take the right side out rectangle of fabric one and place it between fabric two. Be sure to center it so that you have the same amount of fabric on either side of the rectangle of fabric one. Pin the fabrics together
Sew the rectangle of fabric two closed, going straight down the strip of fabric. This will close the band and attach your skirt.
And there you have it!! A sweet and simple apron perfect for everything! Now, add your embellishments as you wish. Remember, I will show you how to add the ruffle tomorrow. I LOVE my apron with my cute little flowers!
blossom - episode 2
Yesterday I shared with you a no sew fabric flower (which I LOVE and probably will be obsessed with and make quite often)! Today I am going to show you a different type of fabric flower that requires VERY VERY minimal sewing. Honestly, it requires a needle and thread...come on, you can handle that.
These flowers can be made as big or as small as you want. You can glue a pin to the back or a hair clip, or even attach it to a headband for a super cute look. Use them as embellishments on different projects. Just add them everywhere!
You will start off with the same materials you did for the no sew flower (cut your fabric into circles) and just add to that list a needle and thread. Cut one smaller circle of a thick fabric for the base.
Start off by taking your fabric (the fabric I chose was printed on one side and I wanted the printed side to show most, so I started off with the printed side down) Fold the circle in half, then half again.
Now, position the point of the petal in the center of the base. Stitch from the bottom of the base through the point of the petal. Stitch back down through the point of the petal and the base.
Continue doing this with the remaining petals. I did three different fabrics and decided to layer each one separately. You can mix the patterns up, keep it all simple...do what ever you want!
Once you have all your petals on, cut a small circle out of a coordinating fabric and stitch it onto place in the center of your layered petals.
These flowers can be made as big or as small as you want. You can glue a pin to the back or a hair clip, or even attach it to a headband for a super cute look. Use them as embellishments on different projects. Just add them everywhere!
You will start off with the same materials you did for the no sew flower (cut your fabric into circles) and just add to that list a needle and thread. Cut one smaller circle of a thick fabric for the base.
Start off by taking your fabric (the fabric I chose was printed on one side and I wanted the printed side to show most, so I started off with the printed side down) Fold the circle in half, then half again.
Now, position the point of the petal in the center of the base. Stitch from the bottom of the base through the point of the petal. Stitch back down through the point of the petal and the base.
Continue doing this with the remaining petals. I did three different fabrics and decided to layer each one separately. You can mix the patterns up, keep it all simple...do what ever you want!
Once you have all your petals on, cut a small circle out of a coordinating fabric and stitch it onto place in the center of your layered petals.
1.14.2011
with the band
For Christmas my little sister asked for an arm band for her Ipod touch. My husband and I both have an Ipod touch as well and he has an arm band for when he works out. One night I decided I would use it at work...yeah, that didn't happen. It was too big for my arm. I admit, I have small arms (trust me, this grass is no greener than yours) so the arm band literally slid down to my wrist. I was frustrated. When my little sister asked for one, I knew there was NO WAY a normal one would fir her, she has smaller arms than I do. So, I said my famous phrase "I can make that" and did!
I am so sorry I haven't posted this earlier, you see when I made something I make it with no pattern. So, the first one is usually the trial, seeing what works best. The second one I make is the one that I really know what I'm doing and can explain. I had no reason to make a second arm band...until now! My little sisters friend asked for one, so I said 'of course, I need to share this with my bloggies'!
Fabric 1: Zebra
Fabric 2: Green
What you need:
Cut out of Fabric 1:
(2) 5 1/4 x 6 1/2 inch - we'll call these smaller panels
(2) 5 1/4 x 7 1/2 inch - we'll call these larger panels
Cut out of Fabric 2:
(4) 6 x 2 inch - we'll call these arm bands
Other stuff you need
2 inch velcro strip
4 inch velcro strip
Sewing machine
Coordinating thread
What to do:
First sew the two smaller panels together as you would a pillow (pattern facing pattern, inside out) leaving one side unsewn, this will be the bottom. Turn the finished panel right side out
Next, sew one side of the 2 inch strip of velcro onto the middle of the top of one of the larger panels. Sew the two larger panels together as you did the smaller panels, leaving the bottom unsewn. Turn the finished panel right side out
Sew the second side of the 2 inch strip of velcro onto the middle of the top of the finished smaller panel.
Set your two finished panels aside.
Sew one strip of the 4 inch velcro to one end of one of the arm bands. Sew one of the unused arm bands to the newly velcro-ed arm band as you would a pillow, leaving the bottom unsewn. Turn the newly finished arm band right side out. Do the same for the second strip of 4 inch velcro. Continue to make the second finished arm band.
Clasp the two arm bands together using the velcro. Lay the larger finished panel down with the velcro facing up.
Lay the smaller finished panel on top of the larger finished panel also with the velcro facing up.
Place the clasped arm bands between the two panels, centering on one side (one side of the clasped arm bands will be sticking out a lot, but we will take care of that).
Stitch down the side you centered the bands on and then across the bottom of the panels.
Now, tuck the end of the arm bands that is sticking out a lot into the pouch you just made. Be sure to leave a small amount hanging out to attach.
Stitch up this side as well.
Turn your case right side out.


I am so sorry I haven't posted this earlier, you see when I made something I make it with no pattern. So, the first one is usually the trial, seeing what works best. The second one I make is the one that I really know what I'm doing and can explain. I had no reason to make a second arm band...until now! My little sisters friend asked for one, so I said 'of course, I need to share this with my bloggies'!
Fabric 1: Zebra
Fabric 2: Green
What you need:
Cut out of Fabric 1:
(2) 5 1/4 x 6 1/2 inch - we'll call these smaller panels
(2) 5 1/4 x 7 1/2 inch - we'll call these larger panels
Cut out of Fabric 2:
(4) 6 x 2 inch - we'll call these arm bands
Other stuff you need
2 inch velcro strip
4 inch velcro strip
Sewing machine
Coordinating thread
What to do:
First sew the two smaller panels together as you would a pillow (pattern facing pattern, inside out) leaving one side unsewn, this will be the bottom. Turn the finished panel right side out
Next, sew one side of the 2 inch strip of velcro onto the middle of the top of one of the larger panels. Sew the two larger panels together as you did the smaller panels, leaving the bottom unsewn. Turn the finished panel right side out
Sew the second side of the 2 inch strip of velcro onto the middle of the top of the finished smaller panel.
Set your two finished panels aside.
Sew one strip of the 4 inch velcro to one end of one of the arm bands. Sew one of the unused arm bands to the newly velcro-ed arm band as you would a pillow, leaving the bottom unsewn. Turn the newly finished arm band right side out. Do the same for the second strip of 4 inch velcro. Continue to make the second finished arm band.
Clasp the two arm bands together using the velcro. Lay the larger finished panel down with the velcro facing up.
Lay the smaller finished panel on top of the larger finished panel also with the velcro facing up.
Place the clasped arm bands between the two panels, centering on one side (one side of the clasped arm bands will be sticking out a lot, but we will take care of that).
Stitch down the side you centered the bands on and then across the bottom of the panels.
Now, tuck the end of the arm bands that is sticking out a lot into the pouch you just made. Be sure to leave a small amount hanging out to attach.
Stitch up this side as well.
Turn your case right side out.

12.13.2010
cheer in a stitch
Being that this is the first year I am in my own place for Christmas, I needed a stocking. I, of course had one at my parents house but, I wasn't going to be able to get it before Christmas. I decided that I would make stockings for my husband and I. I was somewhat nervous and put it off for a while. However, I finally did it and I am quite pleased with the outcome.
First I folded my selected main fabric (black) in half and drew a stocking on the back. I then cut out the stocking shape with the fabric still folded in half. I did this so that I would have both the front and the back of my stocking. I then cut a strip of contrasting fabric (orange) a little longer than double the length of the top of my stocking. My super specific (complete sarcasm) measurements were taken by laying the two pieces for my stocking back to back and marking the length on the back of my contrasting fabric.
Then I hemmed the contrasting fabric on the bottom by folding a small portion backwards and sewing it with a simple stitch. After the trim was hemmed I folded it in half hamburger style...not longways. When folding the fabric I ironed down the fold, it made it much easier to sew.
Next I stacked the folded contrasting fabric between the two stockings in the main fabric. Make sure that the patterned sides of the fabric are facing each other. You want to sew the stockings inside out so that when turned right side out you will not see the stitching.
I then stitched straight down the heel side of the stacked stocking. I opened up the stocking so that it was no longer stacked. I turned the unfolded stocking over so that the non patterned side was facing up. I made a hem at the top of the stocking just like I had done with the bottom of the contrasting fabric.
I then folded the stocking back as it was and finished sewing around the edges. Now, be sure NOT to sew the top of the stocking...or you will have a closed up, inside out stocking! Once you have all sides except for the top sewn up, turn the stocking right side out.
Then I hemmed the contrasting fabric on the bottom by folding a small portion backwards and sewing it with a simple stitch. After the trim was hemmed I folded it in half hamburger style...not longways. When folding the fabric I ironed down the fold, it made it much easier to sew.
Next I stacked the folded contrasting fabric between the two stockings in the main fabric. Make sure that the patterned sides of the fabric are facing each other. You want to sew the stockings inside out so that when turned right side out you will not see the stitching.
I then stitched straight down the heel side of the stacked stocking. I opened up the stocking so that it was no longer stacked. I turned the unfolded stocking over so that the non patterned side was facing up. I made a hem at the top of the stocking just like I had done with the bottom of the contrasting fabric.
I then folded the stocking back as it was and finished sewing around the edges. Now, be sure NOT to sew the top of the stocking...or you will have a closed up, inside out stocking! Once you have all sides except for the top sewn up, turn the stocking right side out.
There you have it. One stocking made in less than half an hour. The cost you may wonder...about $4! I only bought a 1/2 yard of the main fabric and a 1/4 yard of the contrasting fabric. However, I could have gotten away with 1/3 yard of the main fabric. Once you have your stocking made you may want to personalize your stockings. I painted the name on this stocking using a freezer paper stencil. I LOVE this technique! From start to finish, first cut to hanging on the wall...it took me about 45 minutes!
12.12.2010
a butchers best kept secret
For this project you will need:
Craft knife
Print Out of what you would like your stencil to look like
Pen or marker in a dark color
Craft Paint
Paint Brush
Iron
Step 1: trace onto the freezer paper (you should not be writing on the shiny side) the design you have printed out using the dark pen or marker.
Step 2: use the craft knife to cut out the pattern you have just traced onto the freezer paper. I cut on top of an old magazine so I didn't cut up our coffee table. Be sure to keep the insides of letters so that your letters aren't just blobs!
Step 3: use a warm (not hot) iron to iron on the stencil you now have. Don't forget those little inside parts of your letters or designs. Just a quick press will adhere the stencil. Make sure you have the stencil shiny side down.
Step 4: use the paintbrush to fill in the stencil with the paint of your choice. You can use fabric paint for projects dealing with fabric or just plain craft paint works just as well. You can get both kinds of paint at your local craft store.
Step 5: allow the paint to set for a few moments and then peel off the stencil. Now, this is a one time use stencil...but so worth it!
I can't believe how easy this is...it kills me that I didn't try this technique sooner. I love it and plan on using it for MANY different things.
Subscribe to:
Posts (Atom)